HA-MIC01C
Hearit.AI ChatMic Pro

Device Information
- Product Model: HA-MIC01C
- Device Guide: MIC01C User Guide
Firmware Update Methods
We regularly release new firmware to optimize performance and add new features. You can update your device using one of the following methods:
Method 1: Product Flashing (Windows)
This method is suitable for advanced users or when the online update is not available.
Preparations Before Starting
Required Items:
- A computer running the Windows operating system (supports Windows 7/8/10/11)
- Original USB data cable
- Device to be flashed
- Flashing program corresponding to the device (
.exefile)
Notes:
- Ensure the computer has sufficient battery power to avoid power failure during operation
- Use the original USB data cable to ensure connection stability
- Disable antivirus software and firewalls on the computer before flashing to prevent interference with program operation
- Do not disconnect the USB connection or close the flashing program during the flashing process
Flashing Steps
Step 1: Enter Update Mode
- Press the Front button 5 times quickly, then hold for 3 seconds (or Side button)
- LED will show purple solid to confirm entry into firmware update mode
- Connect the HA-MIC01C to your computer via USB Type-C cable
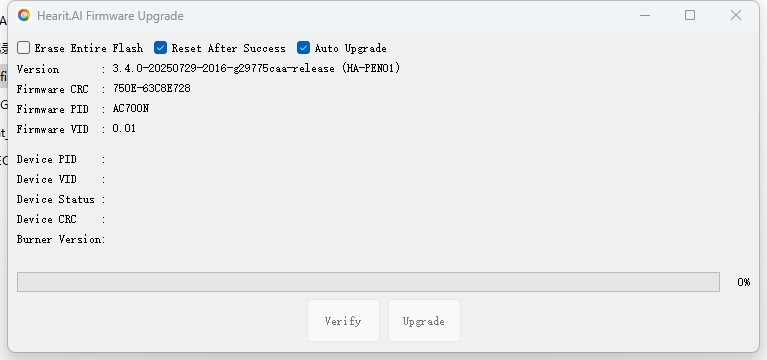
Step 2: Launch the Flashing Program
- Locate the flashing
.exefile corresponding to the device - Double-click the file to launch the flashing program
- Wait for the program to load completely (the main program interface usually appears)
Step 3: Connect the Device
- Ensure the USB connection is secure between your computer and the device
- The flashing program should automatically detect the device
- Confirm the connection status displayed on the program interface

Step 4: Automatic Flashing Process
- The flashing program will automatically begin the firmware update
- The program interface will display the connection status and flashing progress
- Wait for the flashing to complete; do not perform any operations during this period

Step 5: Manually Trigger Flashing (If Automatic Flashing Does Not Start)
- If the program does not start flashing automatically, check whether the device entered update mode correctly (purple LED)
- Find and click the "Update Mode" or "Start Flashing" button in the flashing program interface
- Observe the progress bar displayed on the program interface and wait for the flashing to complete
Completion and Verification
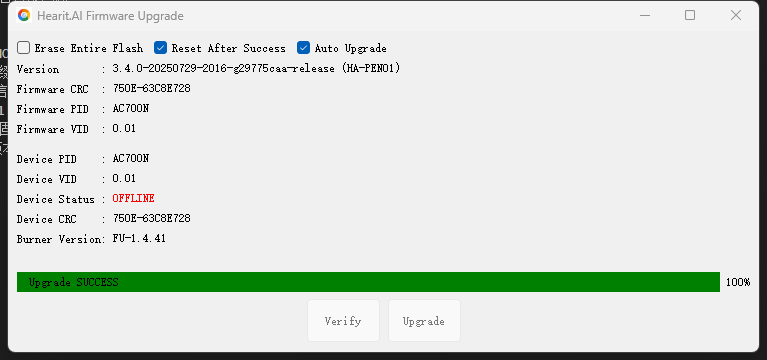
- After successful flashing, the program will display a prompt message such as "Flashing Completed" or "Success"
- The device will restart automatically or prompt that it can be disconnected
- Disconnect the USB connection and check if the device can start normally
- If the device starts normally, the flashing is successful
Technical Support
For assistance with firmware updates:
- 📧 Email: [email protected]
- 🌐 Website: https://www.hearit.ai